

how to change wifi on canon printer
Standard Connection Method
Footstep one
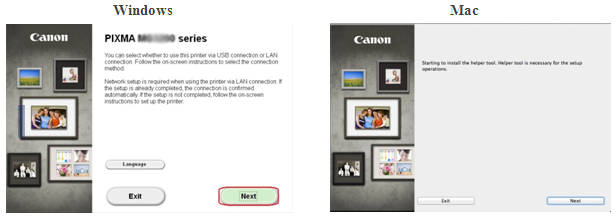
1. For Windows users, insert the CD that came with your printer and run the setup.
If yous practise non have the installation CD that came with your production or you are a Mac user, please download the manuals and software to proceed.
ii. When the initial screen appears, click on [Next].
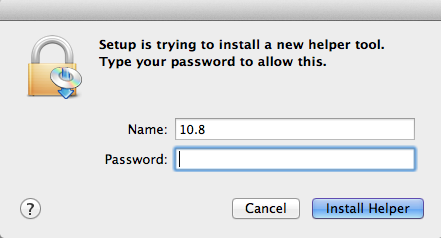
<Mac users only>
When the post-obit screen appears, type your password to permit the helper tool to be installed, and so click on [Install Helper]
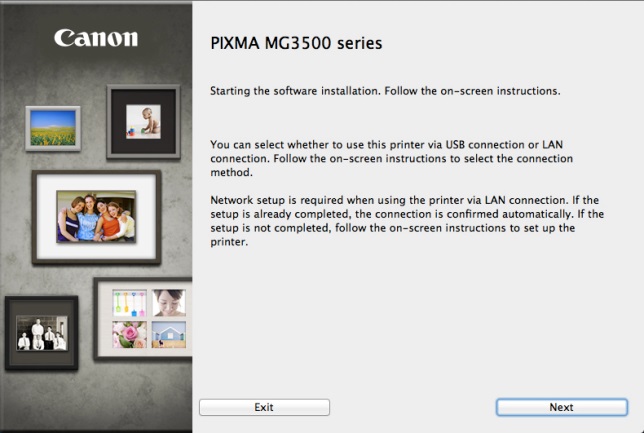
When the post-obit screen appears, click on [Next]
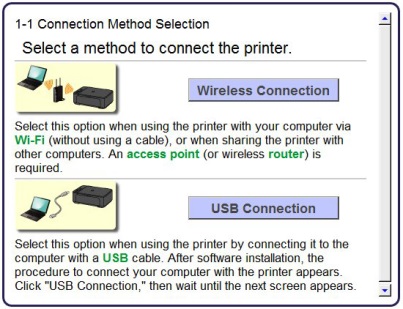
Delight note: A screen will be displayed asking you to select between a USB or wireless connection, please select [Wireless Connexion].
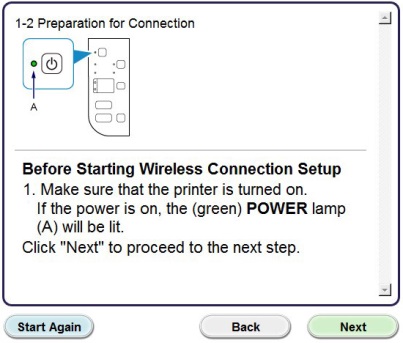
3. Ensure that your printer is turned on, brand sure the ability lamp is on and then click [Side by side].
Footstep 2
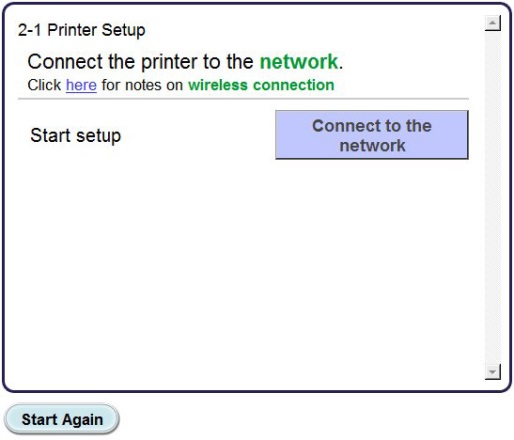
i. Click [Connect to the network].
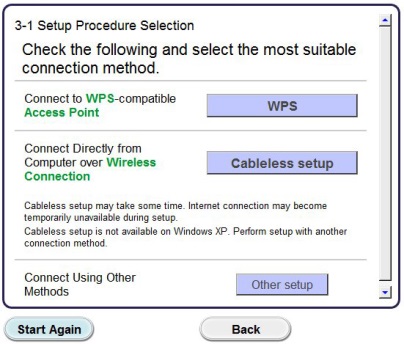
2. When the post-obit screen appears, click [Cableless setup].
Please note: For Windows XP users the cableless install method is not supported, please select the [Other setup] method, and so proceed to pace 5.
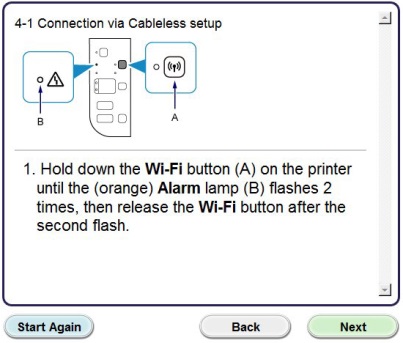
3. When the [Connexion via Cableless setup] screen appears, hold down the printer'south [Wi-Fi] button (A) until the orange alarm lamp (B) flashes 2 times, so release subsequently the 2nd wink.
4. Confirm that the (blueish) Wi-Fi lamp (A) flashes chop-chop and the (green) power lamp is lit. Click [Next].
Delight Note: Your network connectedness will be temporarily disabled during the setup.
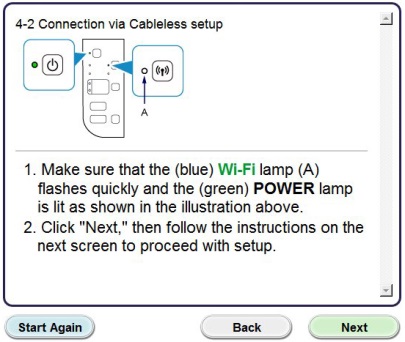
Click [Adjacent].
5. Windows XP users only, select [Wireless Setup Using the USB Cable]
Step 3
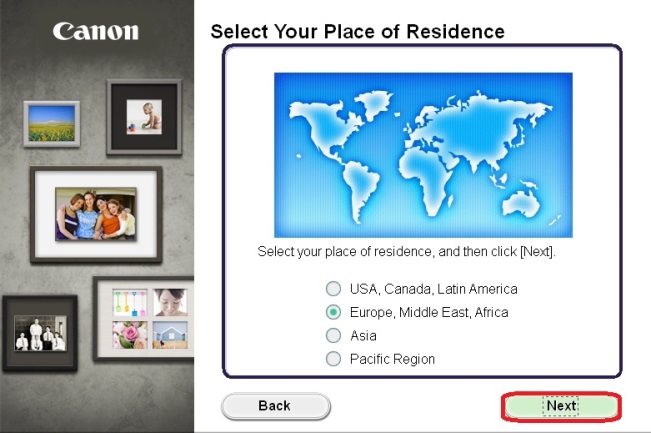
1. When the following screen appears, select your region, then click on [Next].
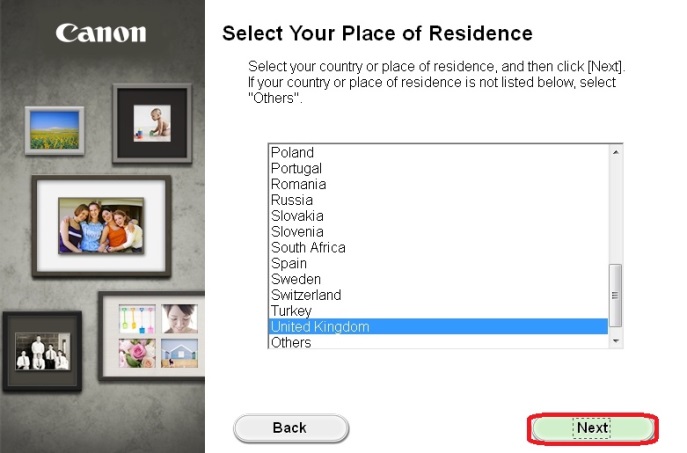
ii. When the post-obit screen appears, select your place of residence and and then click on [Next].
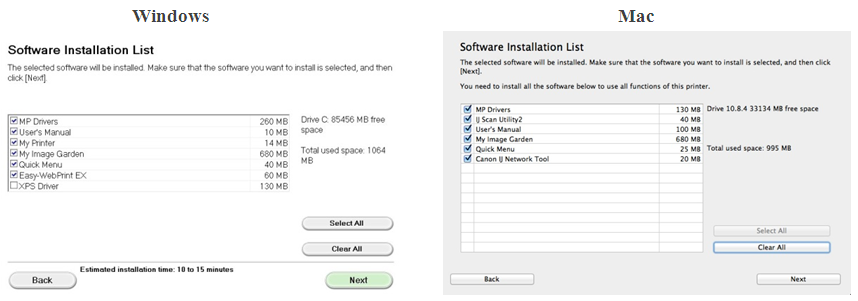
3. When the following screen appears, select the software you wish to install and and then click on [Side by side]. If you're non sure which software you want to install at this stage, don't worry, as you can always uninstall it at a later on phase if you wish.
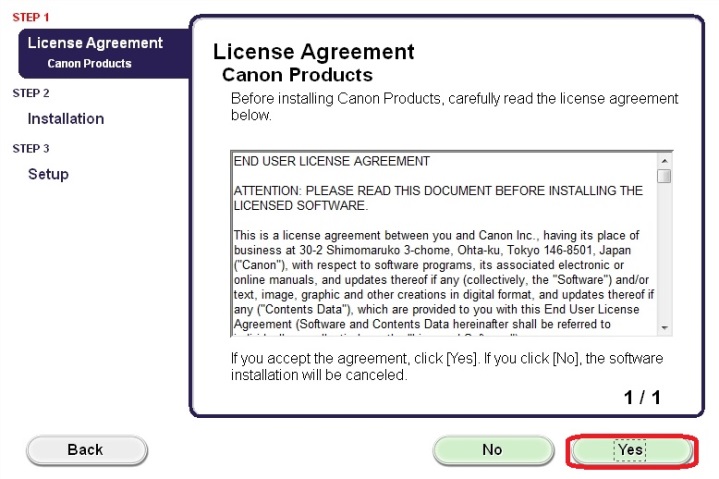
4. When the post-obit screen appears, click on [Yes] to agree to the end user license understanding.
<Windows users only>
When the following screen appears, click on [Next].
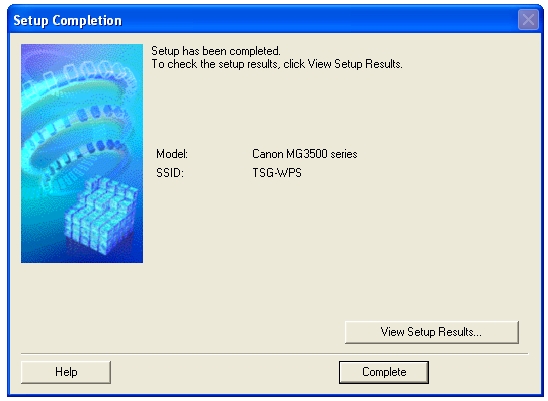
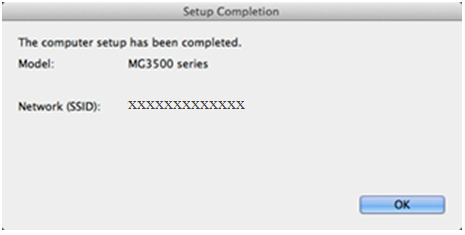
5. The following screen indicates the model of your printer and the name (or SSID) of your wireless network.
Windows (excluding Windows XP Users)
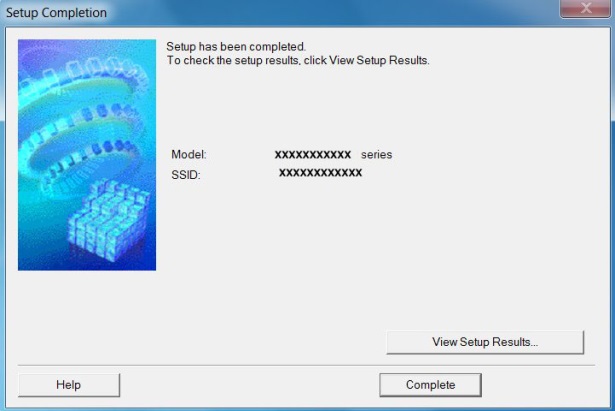
Click [Consummate].
This concludes the Windows Cableless setup.
For Windows XP users, or users where the printer could not be detected, please continue with the USB installation detailed in step six.
<Mac users only>
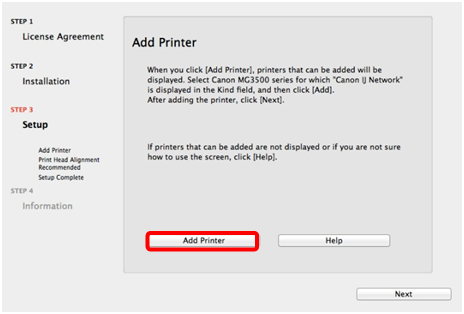
When the following screen appears, click on [Add Printer]
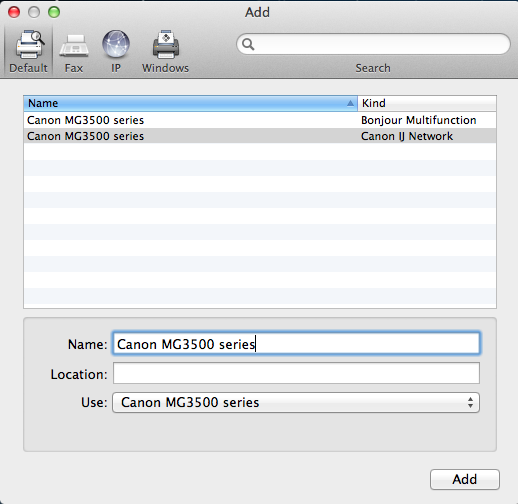
In the following screen, select the [Canon IJ Network] commuter version and click [Add].
Click [Next] to complete the setup.
This concludes the Mac Cableless setup.
For users where the printer could not be detected, please proceed with the USB installation detailed in pace 6.
USB cable setup for Windows XP users and where the network connection was non detected
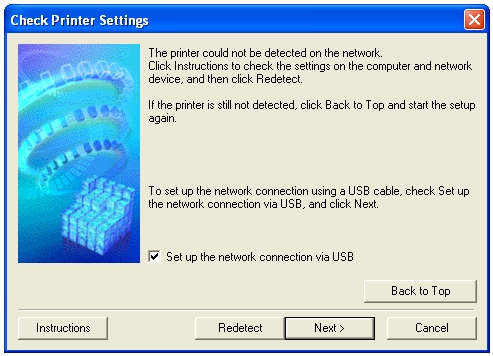
6. Select [Set up network connection via USB], then click [Side by side].
seven. When the following screen appears, connect your printer to your computer using the supplied USB cable. This is the cable with the  symbol on the connector.
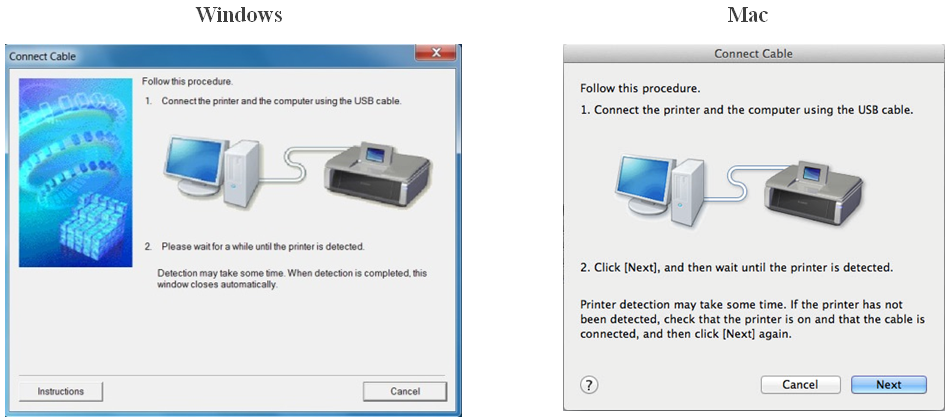
For Mac users, click [Next ].
8. Once your printer has been detected, the following screen will appear.
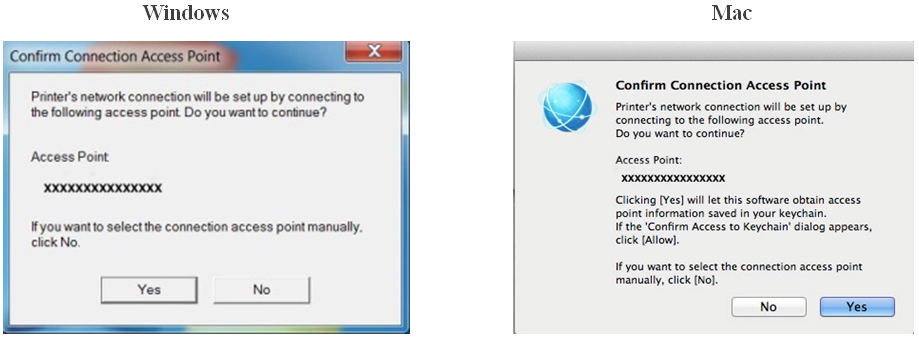
The name of the access point that your computer is connected to will be displayed (where "xxxxxxxxxxxxx" is shown).
If this is the wireless network you want your printer to connect to, click on [Aye].
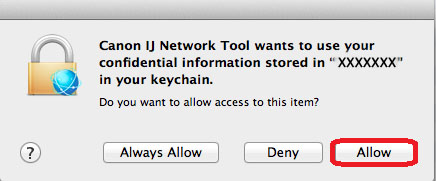
<For Mac users only>
When the following screen appears, click [Let].
ix. When the following screen appears, disconnect your printer from your calculator and click [Next].
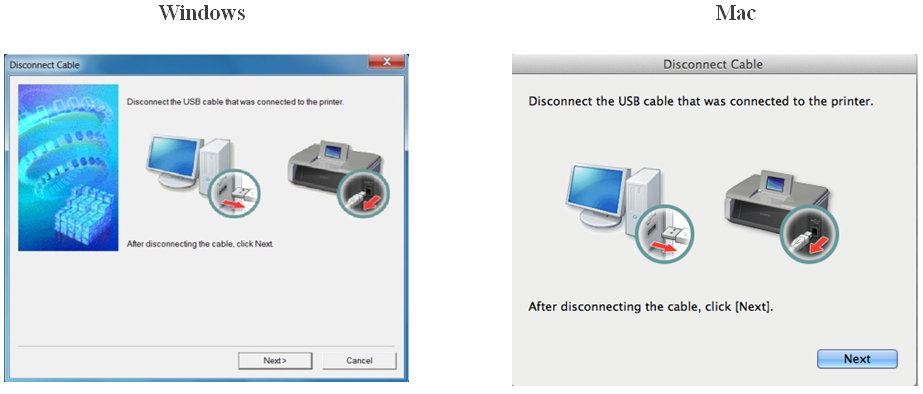
<Windows Only>
When the following screen appears, click [Consummate].
This concludes the Windows setup.
<For Mac users only>
Once your printer has been detected, the post-obit screen will announced indicating the name of the access point that your computer is continued to (where "xxxxxxxxxxxxx" is shown). Click [OK].
When the following screen appears, click [Add together Printer].
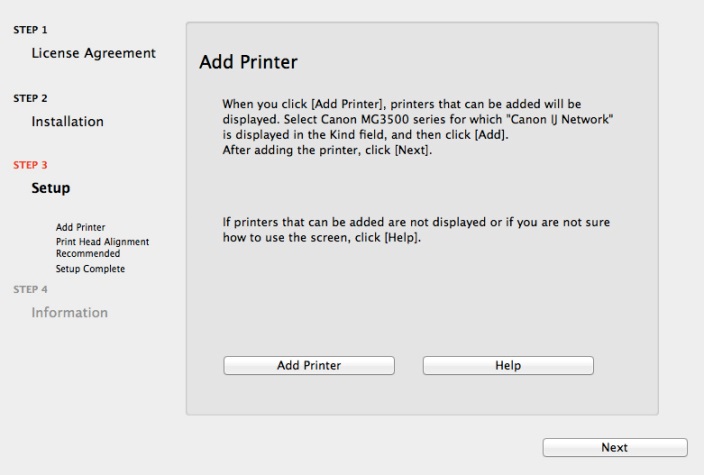
In the following screen, select the [Canon IJ Network] driver version and click [Add].
Click [Next] to complete the setup.
This concludes the Mac setup.
If the wireless setup is nevertheless failing afterward post-obit this guide, please contact us for further assistance.

Source: https://www.canon-europe.com/support/consumer_products/pixma_printer_wireless_connection_setup/mg3540_printer_wireless_connection_setup/
Posted by: carrierfortint.blogspot.com
0 Response to "how to change wifi on canon printer"
Post a Comment